
Ok so that joke is perhaps a little harsh but when this VW entered the workshop there was one or two holes that needed a dressing to say the least.

For safety sake the interior is removed to avoid anything catching fire while the car is being welded. This is also allows for some of the holes to be tackled from the inside of the car which makes life much easier.
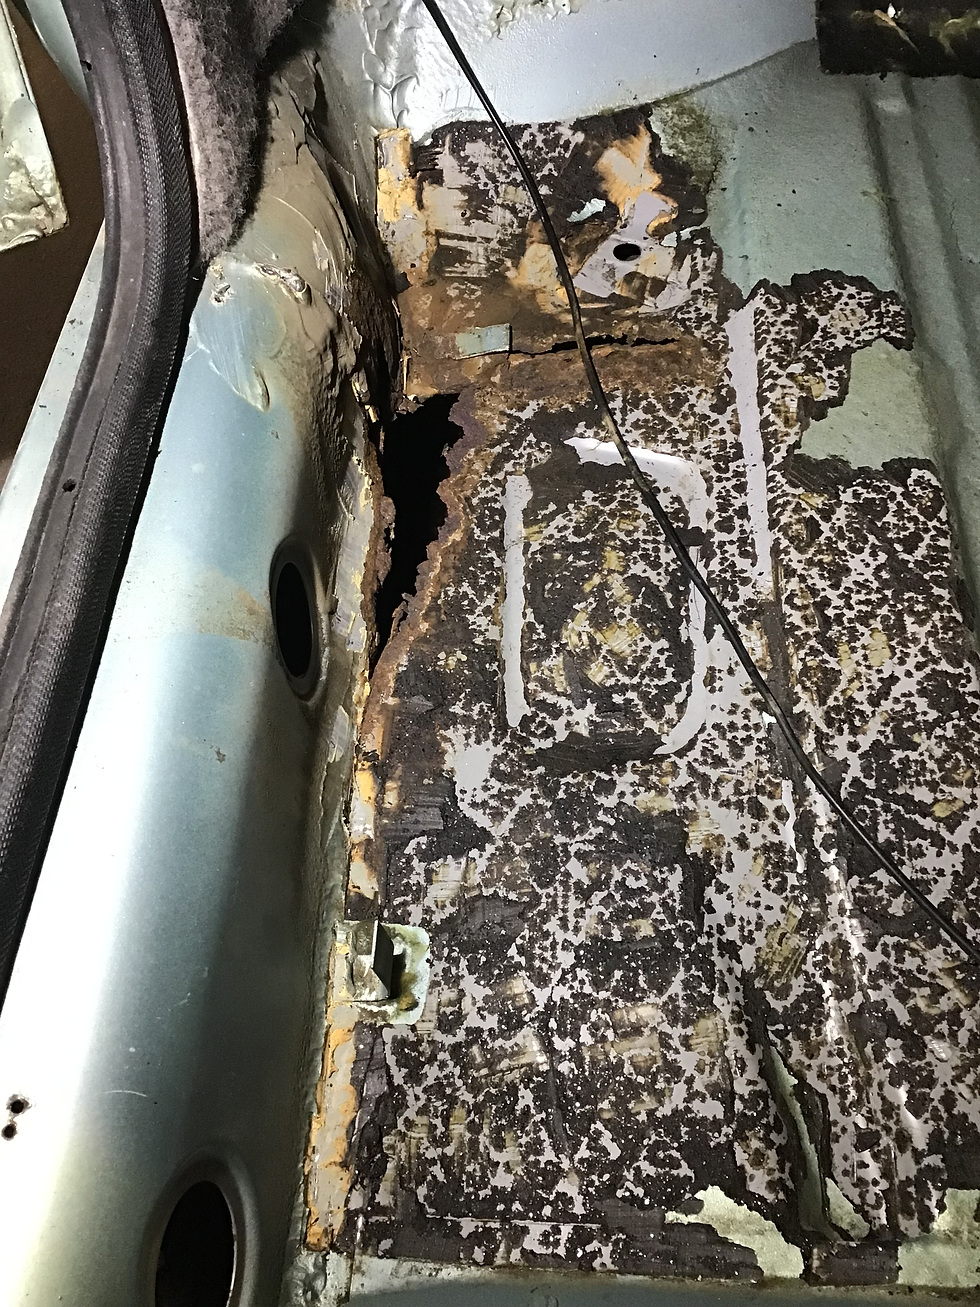
With the carpets out, the holes in the floor are much easier to find and fix rather than having to hunt them out under 30 years of underseal.

Inner sills can be repaired in the same way from inside.
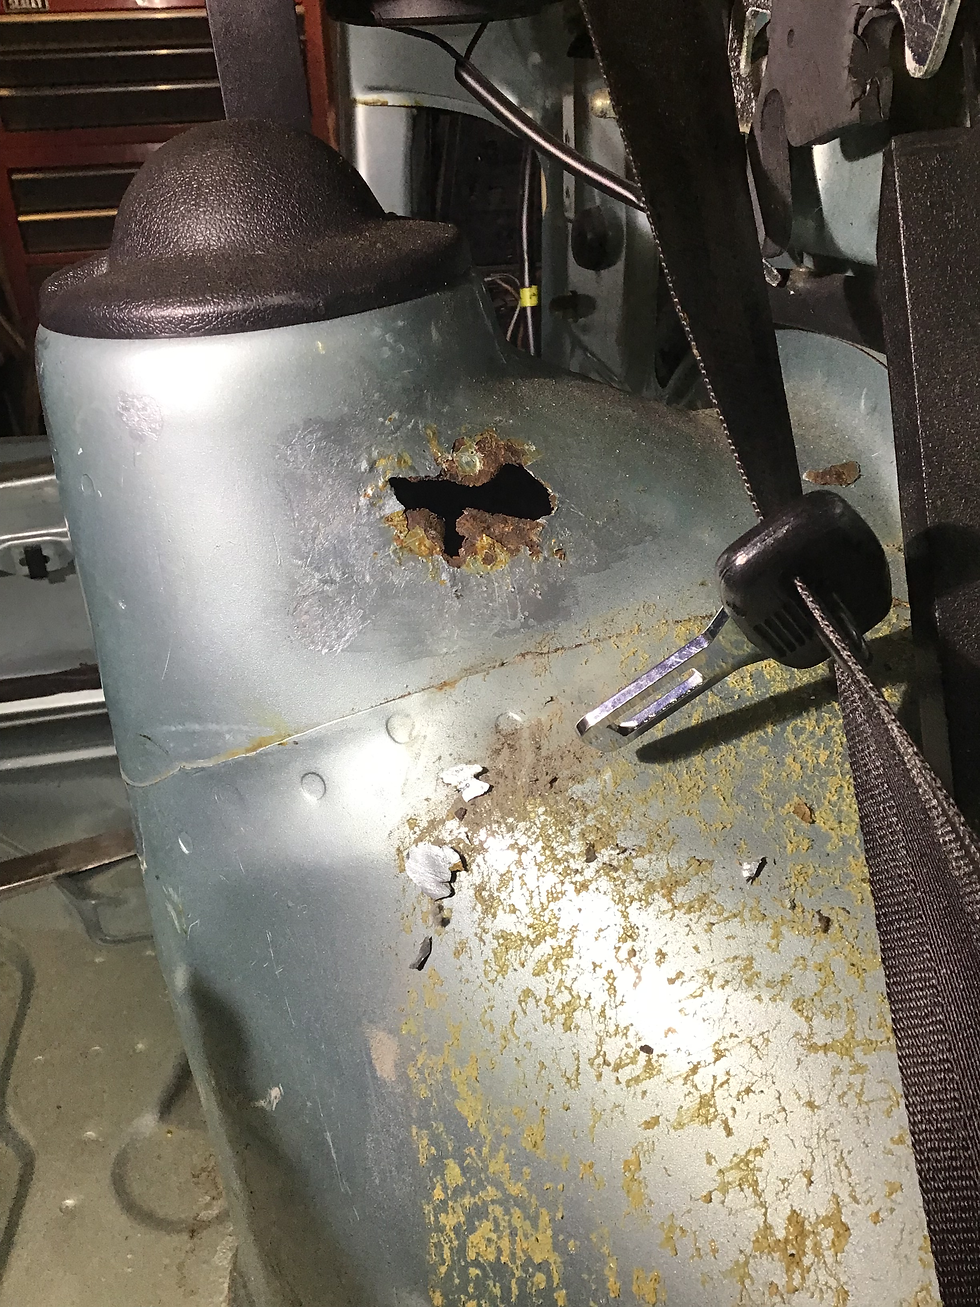
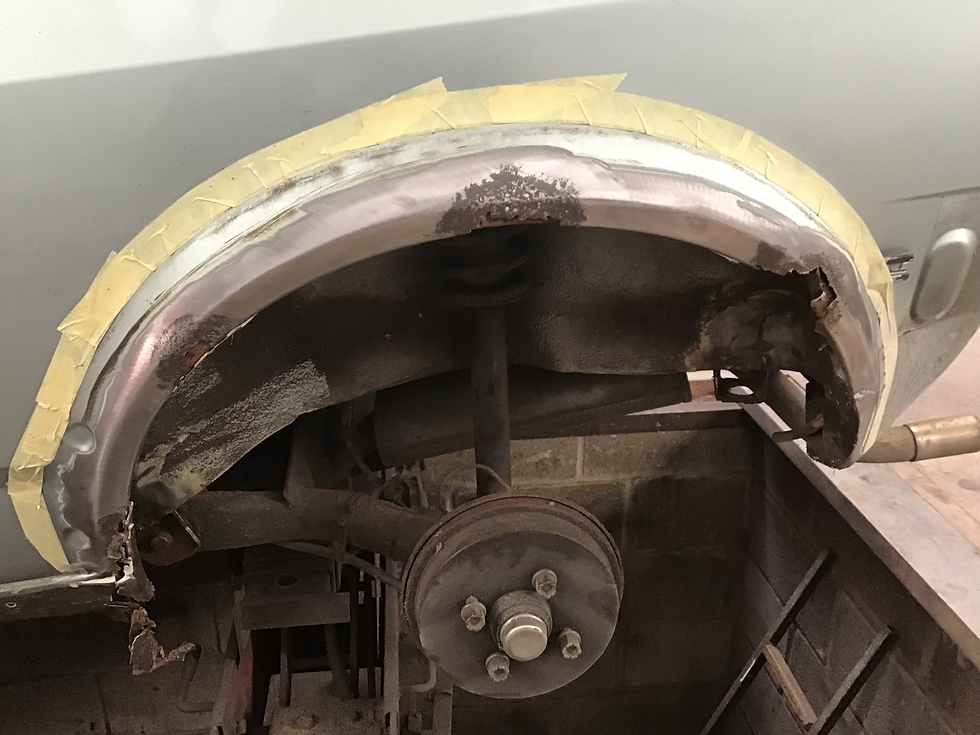
This one was caught just in time. Rusty holes in the rear suspension tower could lead to a coil spring shooting through the car.
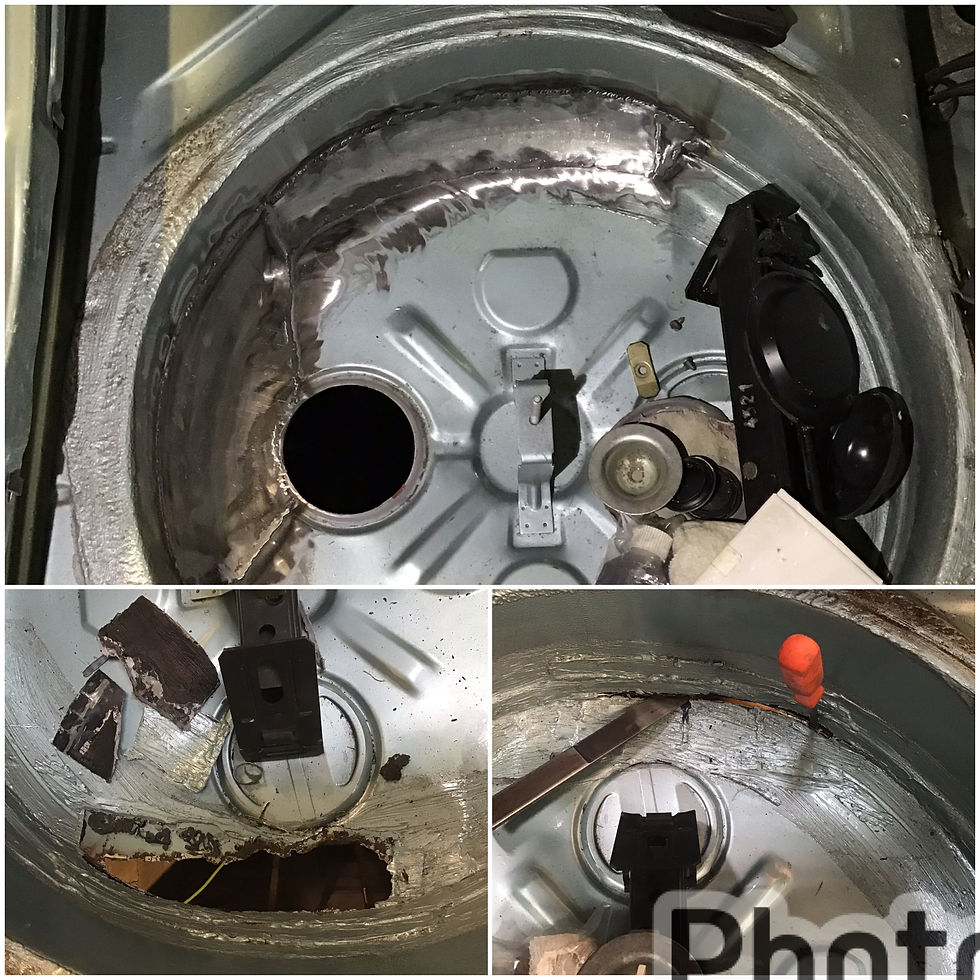
The spare wheel well had been previously repaired using very thin tin sheets and what looks like bathroom sealer. Not idea, this was cleaned up and a proper repair was made and welded in place.

This repair to the fuel filler aperture made the job much harder than I was hoping. The sills and arches that needed to be welded were covered by trim panels. This repair however had nothing to cover it up which meant I would have to paint the rear wing and blend the new paint into the original slightly faded paint. Not always an easy task.
On to the wheel arches. Luckily on the passenger side of the car the rust didn’t extend above the level of the trim which meant I could repair the rust and keep the paint work inside the trim area.

Experience tells me that this rear quarter is made mostly of fibre glass despite looking relatively solid.

The previous fibreglass repair was removed to reveal lots of rotten metal extending all the way into the towing hitch. The towing hitch it’s self had to be removed and welded it a new mounting plate.

In the end the inner and outer quarters as well as the rear valence was cut out. This was repaired using a blend of available reproduction panels and plates hand made in the workshop.
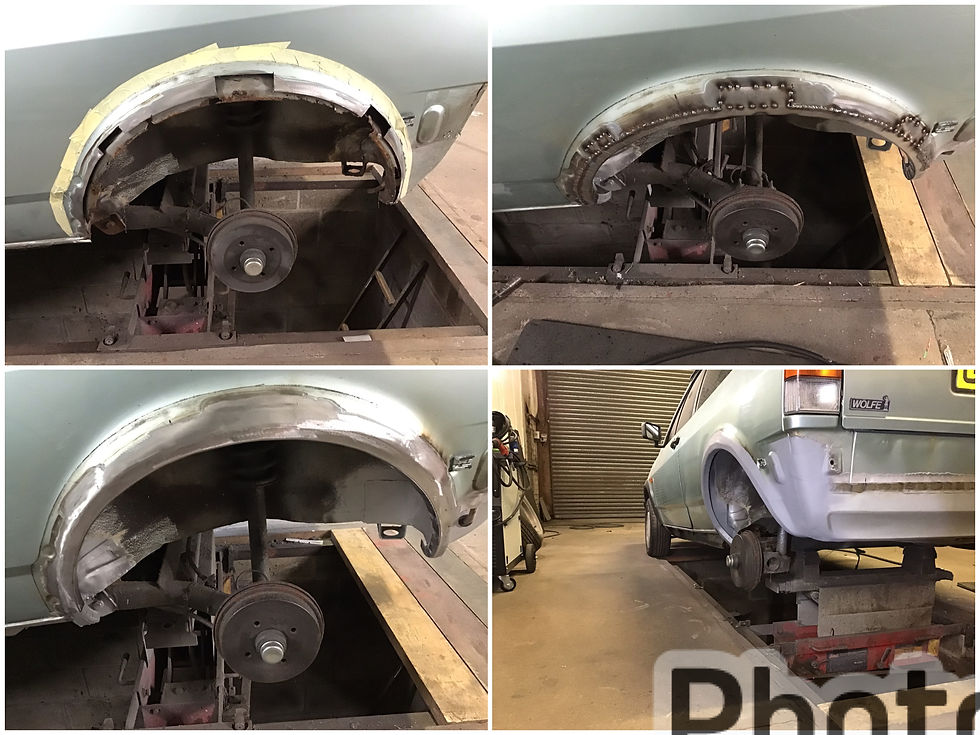
The inner and outer wheels arches for this model of polo are no longer available to buy so repair panels had to be made using the metal shrinker and stretcher.
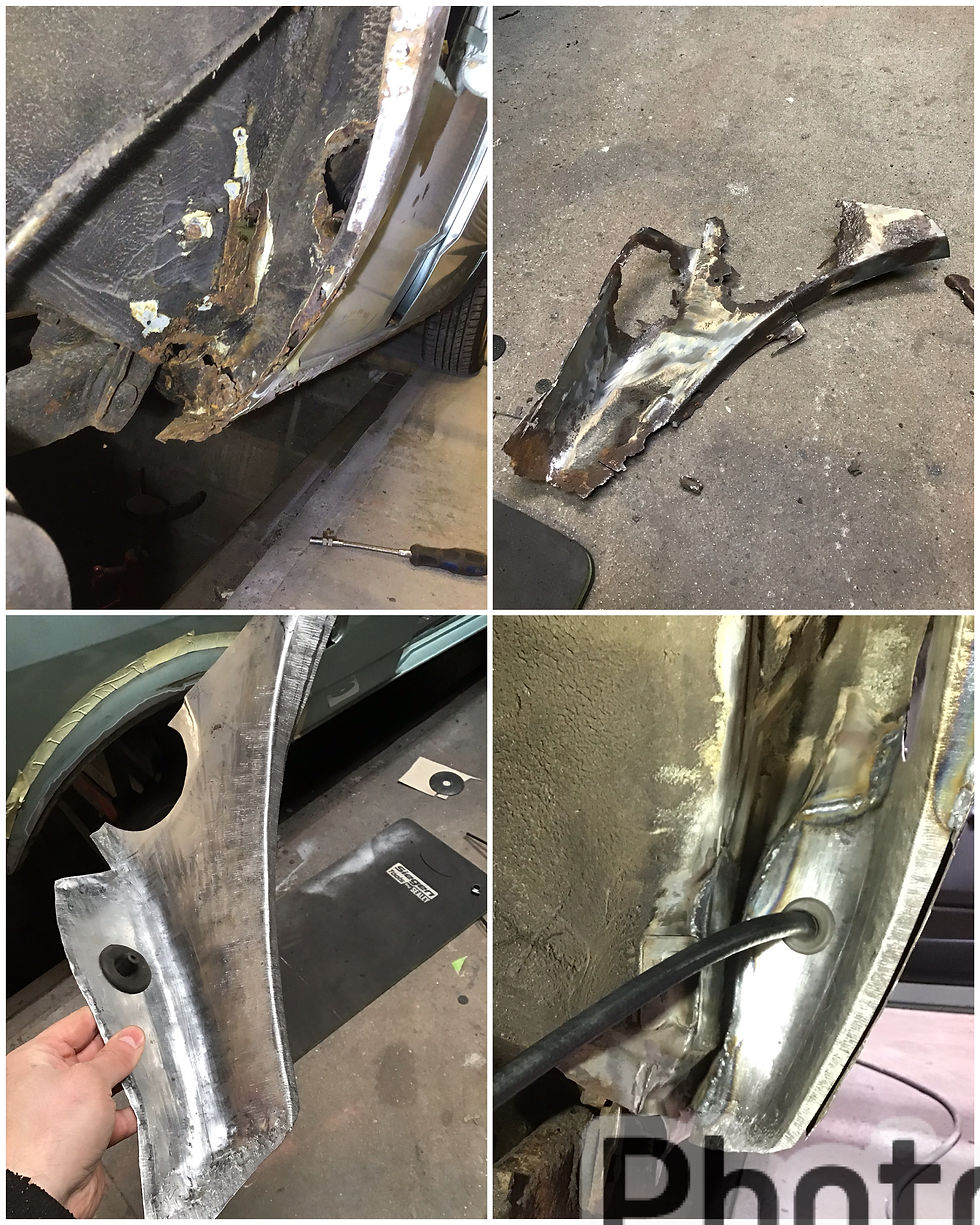
The driver side inner rear wing was by far the worst part of the car from a repair point of view. This panel had to be made using the shrinker and stretcher as well as the English wheel and lots of hammer and dolly work. It may look like a small panel but trying to make a flat sheet of metal curve in three different directions can prove extremely hard to do.

The inner sills are repaired and the outer sills are replaced .
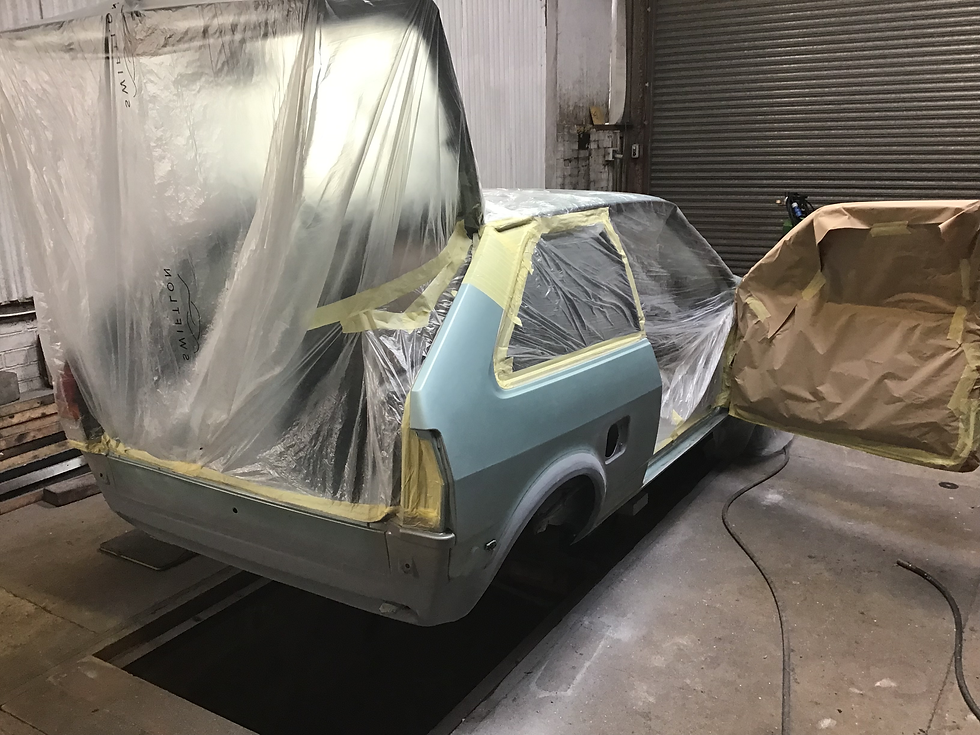
Once all of the welding and bodywork is done the car is masked off ready for painting. The base coat is applied to the bottom half of the wing as well as the rear valence. An additional coat is feathered just above the centre body line to blend the base coat into the old paint. The C post is half masked off to insure no base coat over spray goes on the top half.

The masking tape is then removed and the whole panel is given its clear coat.

The inside panels are seam sealed before painting to keep it tidy but not extremely expensive.

Finally the car is finished. The metal removed from the car shows the amount of work that has gone into the job.
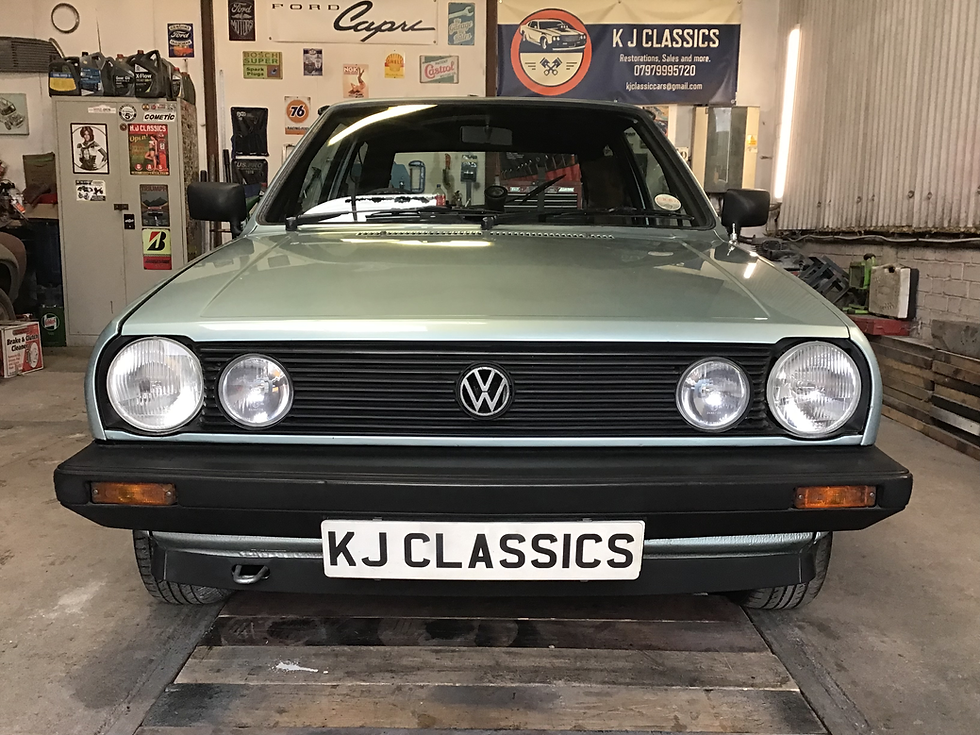
Now a very nice little polo.

Comments