
Okay so some of these repairs are not particularly standard but this is a standard 10 and hear are 10 of the repairs I have undertaken on the car.

*1 Rust repairs
Floor pans front and rear were full of holes . With very limited repair panels available, new floor panels had to be made from scratch.

Once welded in place a rubberised stone chip is applied to the inside for durability.

Sills were among the only panels available for this car. They were essential as the original sills had been previously repaired with tin foil and body filler.

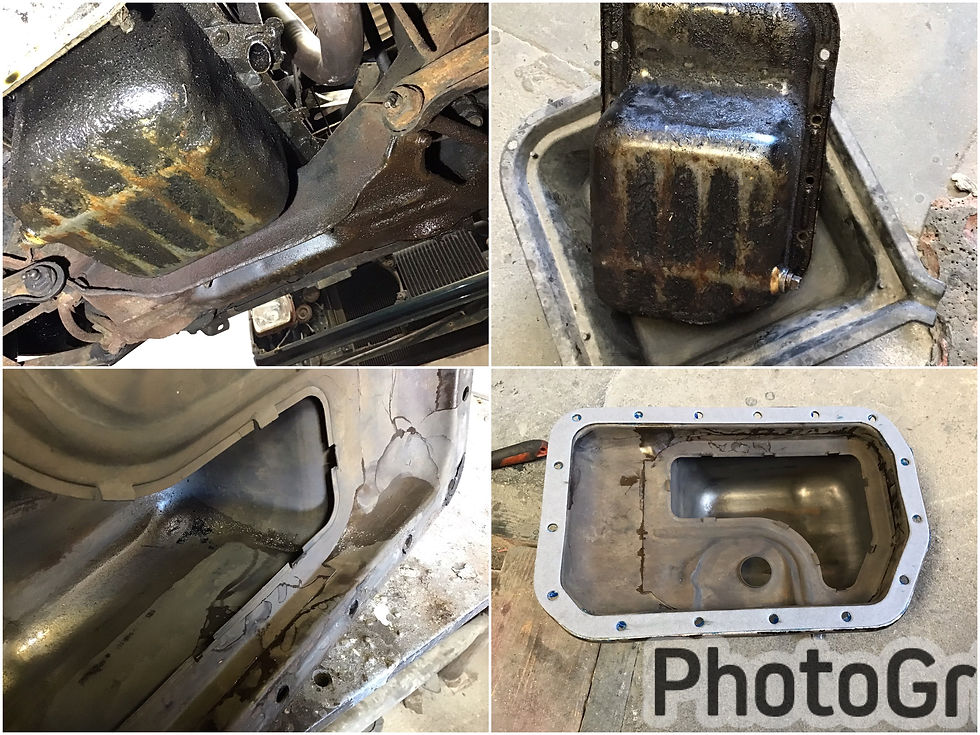
*2 Leaking sump
The sump and lower half of the engine block were wet with oil. Some of the oil will have been coming from the front and rear crank shaft seals however that was major surgery that the owner of the car didn’t want to undertake at this stage. So the next best thing was to fix the other part of the problem, that being the sump gasket. A new one is fitted and at the same time the sump is cleaned out.
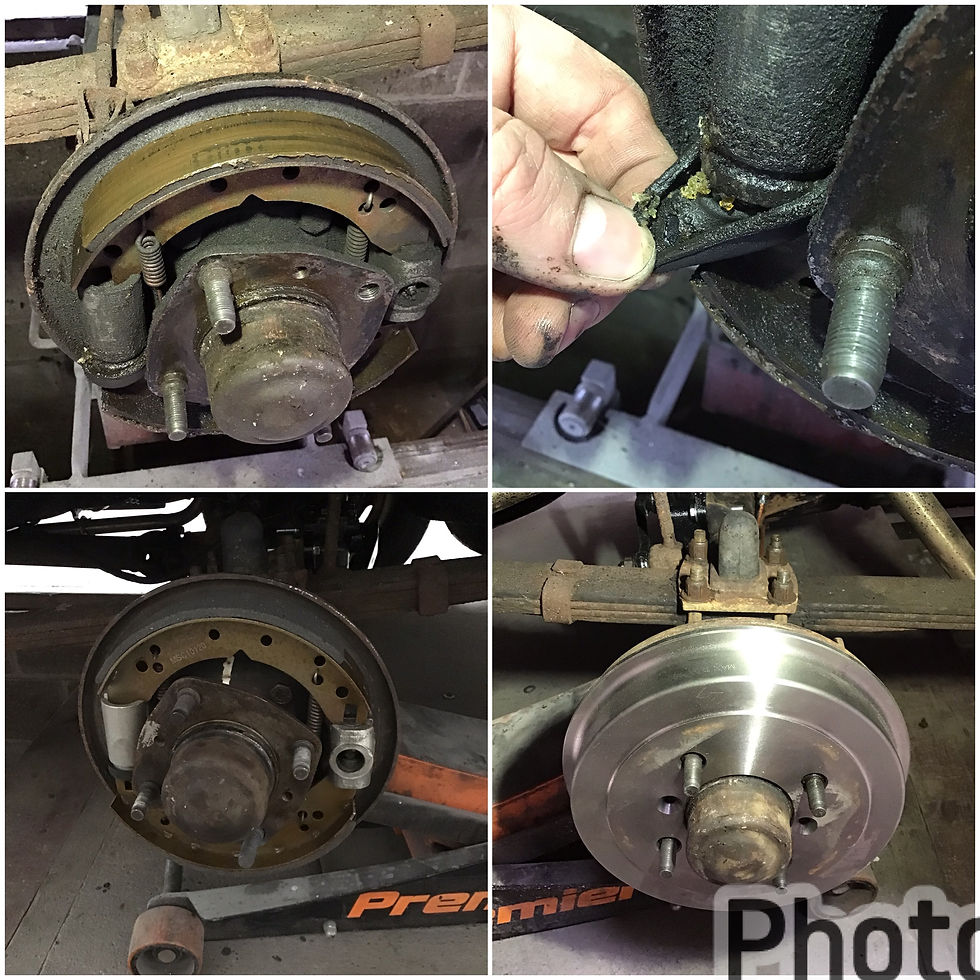
*3 Snapped wheel stud
Just like the Austin Mini, the standard 10 has extremely thin wheel studs. As a result they are very easy to snap off as we have found out hear. To add to the problem the original studs were of a pressed in peened back design. Original studs for this car are no longer available and even if they were finding someone with the tooling to peen the back of the stud would be very hard. In this case the only option available was to press in a splined stud that tightly fit the hole and then weld the back to insure it can’t go anywhere. ( once the wheel nuts are tightened is isn’t possible for the stud to move anyway)

*4 Leaking rear shocks
The lever arm style shock absorbers are renowned for leaking. Again these are not available for the standard 10. In order to get around this I have opted for a set from an MG midget . The lever on the midget shock absorber is slightly shorter than the standard 10 but as the lever arm attaches to a drop link, the reduced length will make no difference in this application.
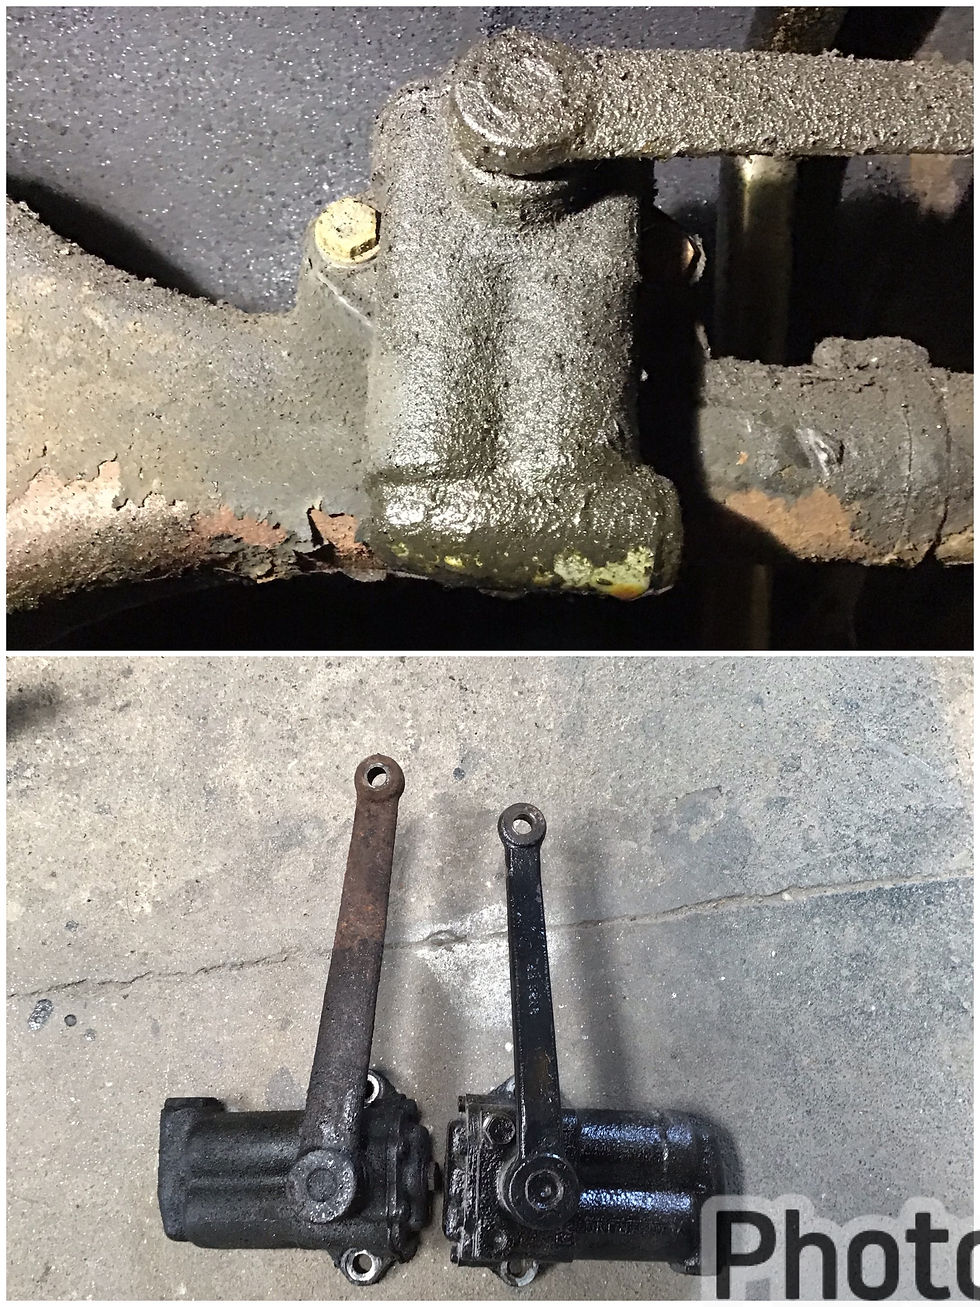
*5 Leaking and slack steering box
Normally the solution to this problem is to remove the box and send it off to a specialist to recondition it. In this case however the specialist didn’t have the parts to do the job so I would have to do the best I could with a bad situation. First of all the adjusting screw is tightened up to remove as must loose play as possible .
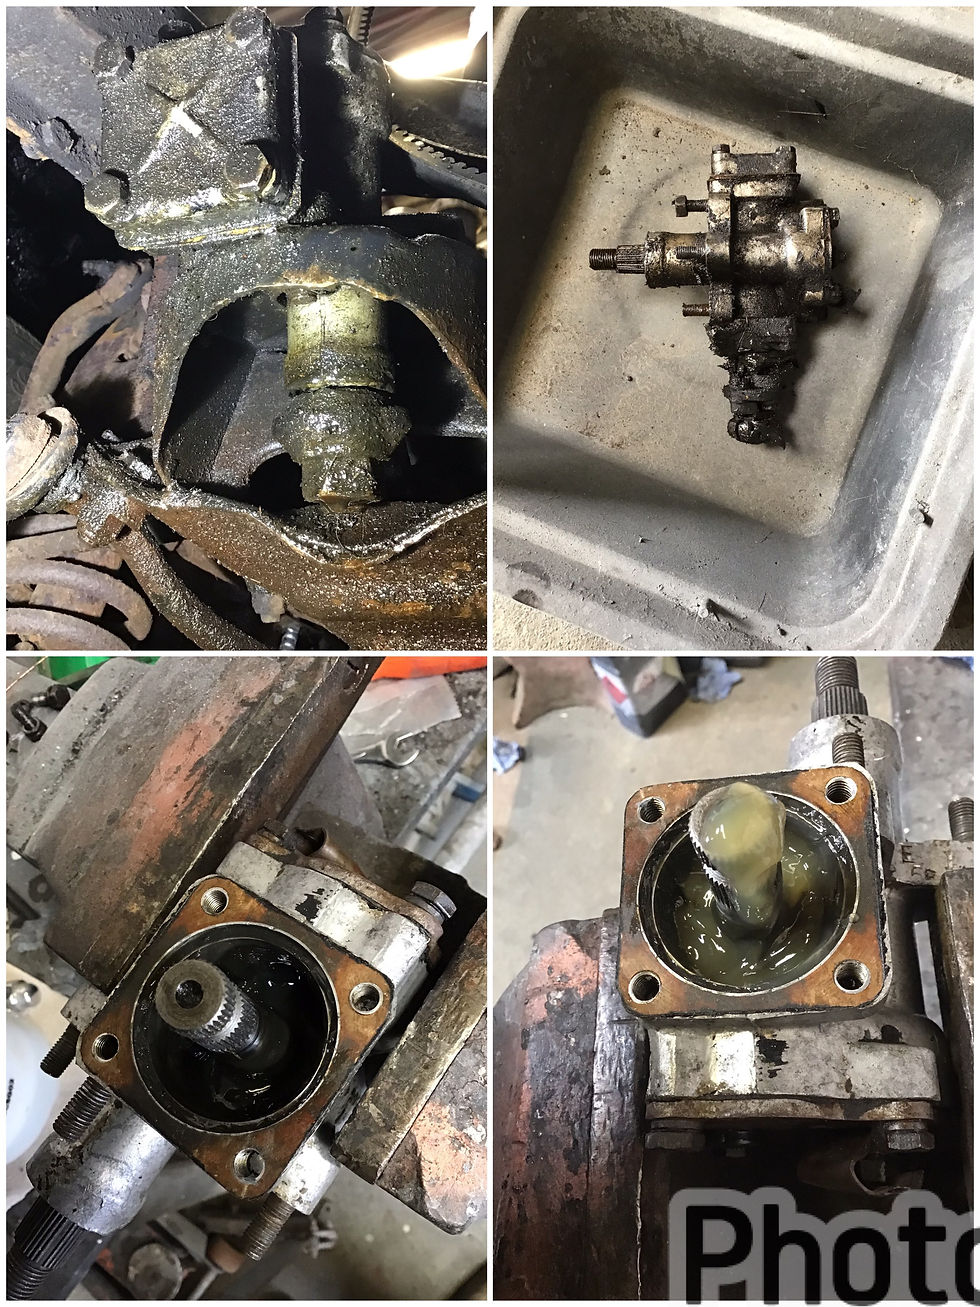
Next the cap is removed to refil with steering gease. A new O ring is fitted and a gasket is made to hopefully stop the leaking . One of the thread holes on the cap is re-tapped and a new bolt is fitted as the original had stripped.

*6 Leaking rear wheel cylinder
The rear brake drums were removed to inspect the brakes. The shoes were found to be covered in brake fluid. The only place it could be coming from is the wheel cylinder. It’s common for fluid to push past the piston seals on old wheel cylinders. It’s an easy fix to replace but it does mean the shoes and drums will also have to be replaced due to the friction material being saturated in brake fluid.
*7 Leaking axle differential and half shafts.
It’s probably easier on this car due to its simplicity to remove the axle to fix the leak. The diff and half shaft are removed in order to fit new gaskets.
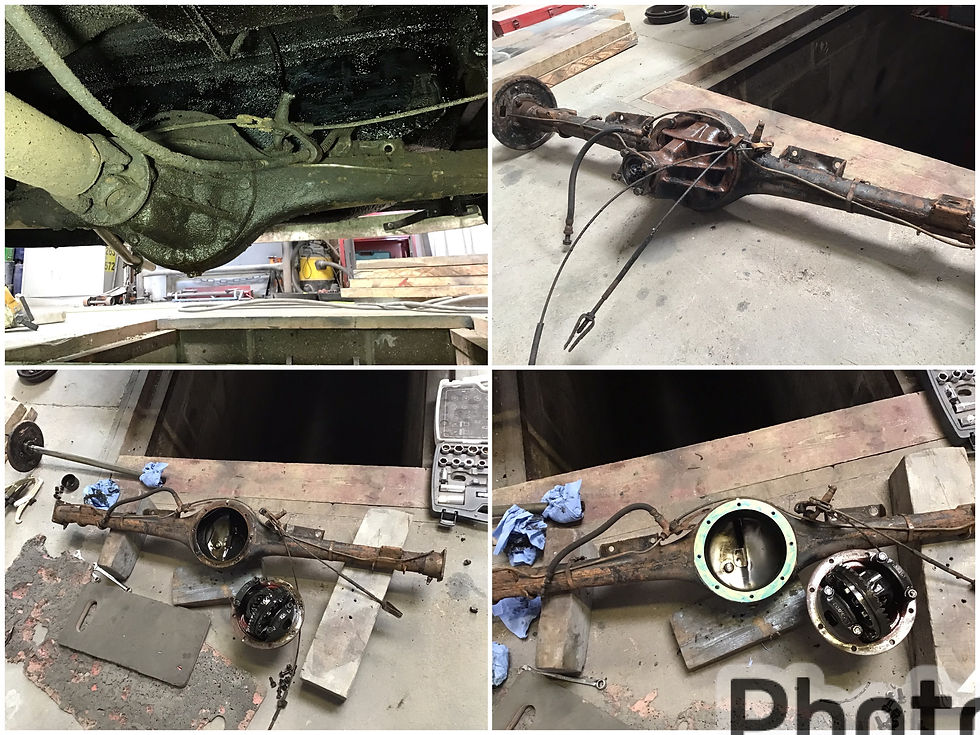
The axle is then pressure washed and new brake lines and flexi hose are fitted

*8 Front wheel bearing .
Another pretty simple repair. The front brakes are removed, the the hub is removed, the old bearing is knocked out and a new one is pressed in .

*9 Dry and worn steering joints.
The steering linkages are removed to gain access to the pitman arm and idler bushings. They are badly worn so they are burned out in order for new bushes to be pressed in .
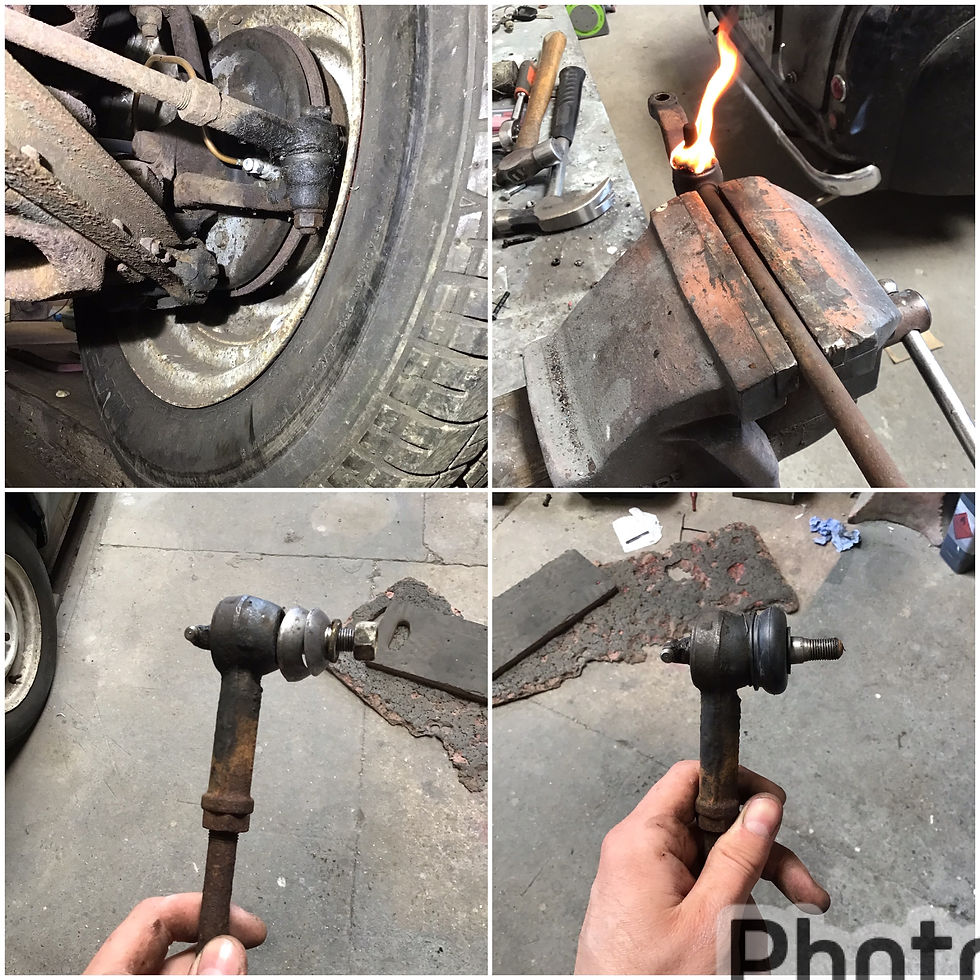
The track rod ends were still usable so they were cleaned up and rubber boots were fitted to keep the grease in and the dirt out. This will hopefully prolong there life span.

*10 Fuel flooding solution
The last job was a slight anomaly. Switching the car off would cause a significant amount of fuel to pour into the carburettor and out of the over flow on the inlet manifold. The carburettor was stripped down and no problems were found . The float level was spot on, the float shut off valve was functioning properly, the jets, seals and gaskets were all in good order and sealing properly. Further more the fuel pump is a manual cam driven pump which stops pumping the moment the engine stops. After trying a few more solutions such as re-routing the fuel hose to eliminate the possibility of a siphon affect, I decided to fit a fuel cut off valve just before the carburettor. This is wired into the ignition to insure that it cuts the fuel as soon as the engine is switched off.

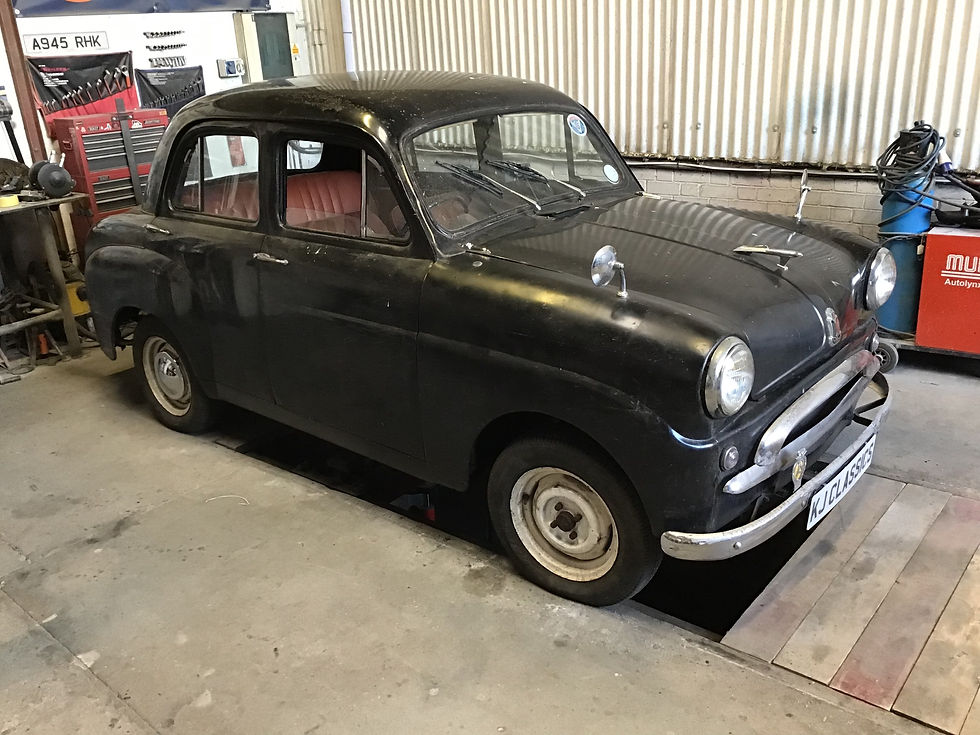
The standard is now back on the road!!

Comentarios